For the past few months, I've been working with high school senior girls, Meron Shiferaw and Tsedey Tadesse, at Roosevelt High School in Seattle on a collaborative, cross-disciplinary project. The project introduces the young women to both technology and fashion and how to merge them into a new experience in the shape of an interactive wedding gown. Throughout the months, they've been learning basic electronics, programming, fashion design and fashion construction. And these girls are rockstars! They are not afraid to get their hands into wiring, sewing and building what could be a fairly complicated electronic design and garment integration. The project had its roots in a course Meron took at Roosevelt HS last year — Introduction to Computer Science. That course, taught by Andrew Davidson, introduced students to the basics of computer science and engineering. Davidson says that the goal of that course was to “get students excited about computing and programming in a hands-on, project-oriented lab environment.” They experimented with physical computing applications using Arduino micro-controllers.
Meron’s final project for the course was a small LED necklace powered by a LilyPad (an Arduino variant designed for wearable technology applications). That led to her collaboration with Tsedey on the interactive gown for their senior project this year. Davidson says that Meron is now taking AP Computer Science, continuing her studies in Java.
Here's how the project is starting to take shape...
Step 1: Concepting and design
The first step for the students was to understand basic electronic theory, sensors, and interaction possibilities. The girls already knew that they wanted to make an interactive wedding gown, so we walked through different inputs and outputs that sensors and electronics provide and started brainstorming ideas around the experience.
The final idea was to create an illuminated gown that invited social play. The dress would consist of 25 LEDs and a connection to Twitter through Twitter's open APIs that could then be interfaced through a smartphone. At the end of the project, the plan was to have an event (such as a mock wedding), where the audience could tweet a message to the dress. Each tweet would light up an LED for a duration of time until it eventually faded off. If the audience collectively lit up all of the LEDs at once, they would change color, hence, inviting social play with a group goal...to change the color of the dress.
I reached out to R/GA's Will Turnage who demo'd a Light-up Twitter jacket during a talk at SXSW last year that had similar capabilities. He provided us with the source code he used along with instructions that he has made available at wubbahed.com. Thank you for sharing Will! This could provide the students with a good foundation to learn from if they make it that far.
Step 2: Intro to eTextiles
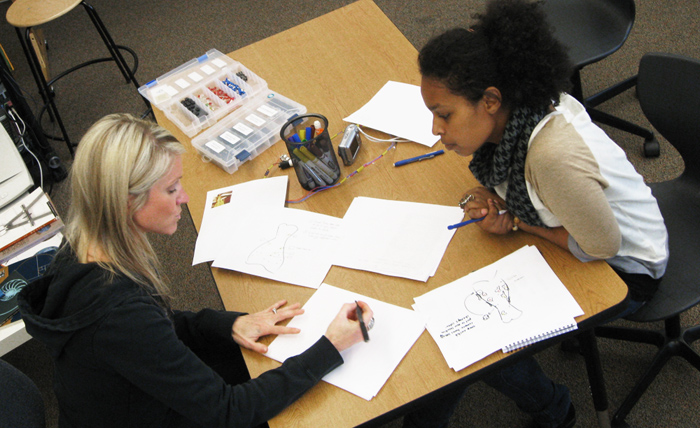
While figuring out the concept for the project, I walked the students through a variety of eTextile techniques. They learned about different types of conductive threads, how to sew and work with the threads, and simple techniques to prepare electronics components for garment construction.

Step 3: Intro to Arduino and electronics
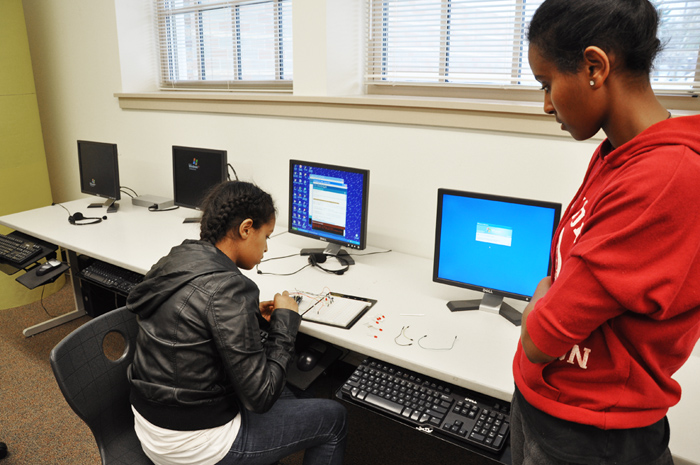
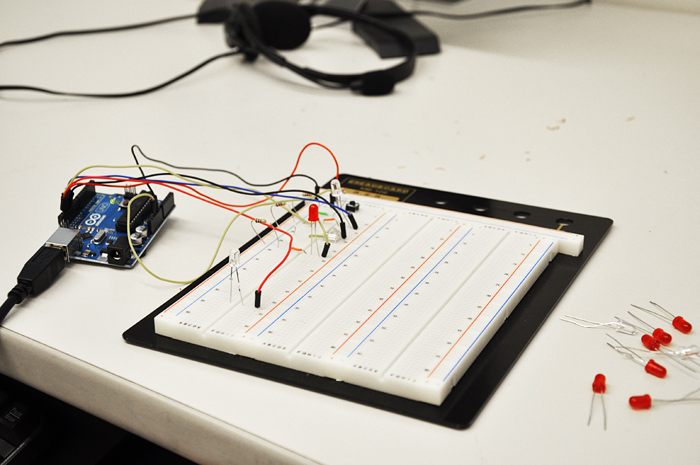
The next step was to start diving into the Arduino platform, which was the plan to use to construct the project. Thanks to Roosevelt’s Computer Science teacher, Andrew Davidson, the students learned how to work with an Arduino board, basic electronics, and programming. With a fairly ambitious concept, we began to simplify and focus on getting the LEDs to work only. If the students could achieve this, then they could add the twitter capability later on in the project or even in a second version of the dress. This was a good lesson in planning and phasing out these complex fashion+technology experiences.

Step 4: Intro to fashion design and construction
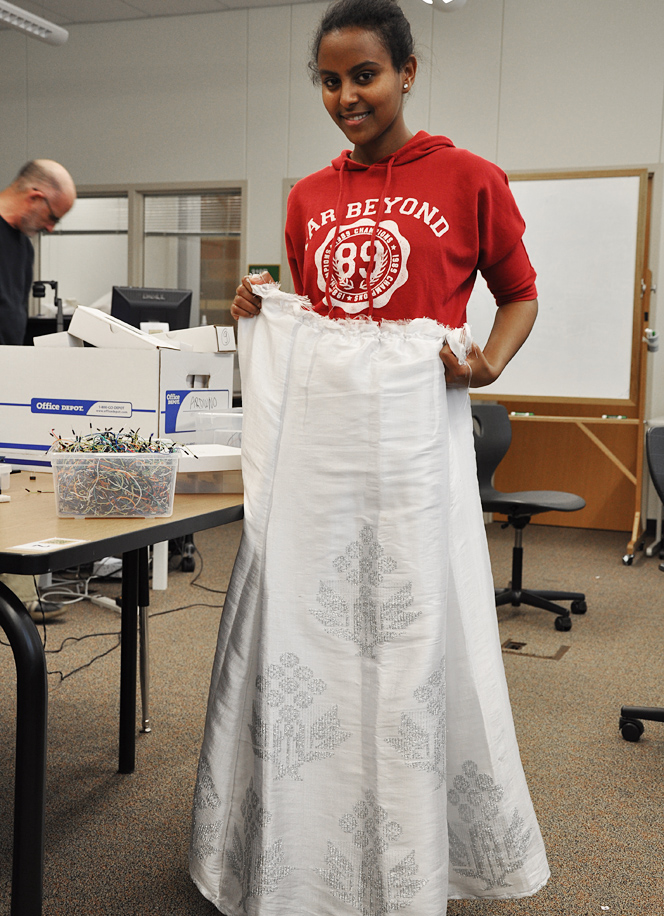
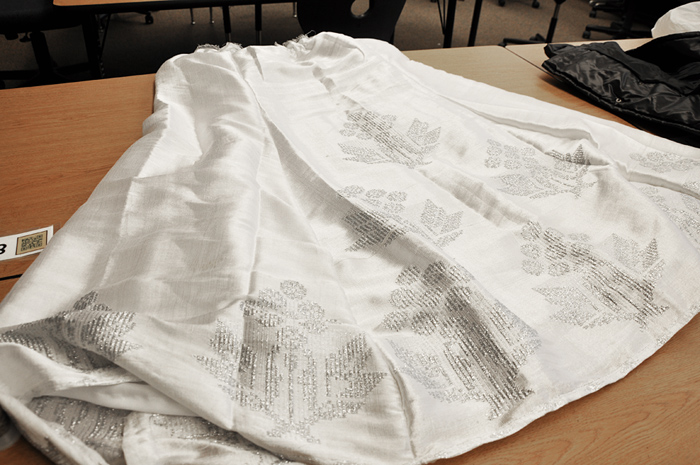
While learning the electronics and programming side of the project, they started learning about fashion design, pattern making and constructing. After some trial and error and 3 garment construction later...the gown is starting to take shape. And I must say, it's going to look beautiful! The electronics will be sewn into the lining of the bottom portion of the gown so that the LEDs will illuminate behind the silver pattern in the fabric.
Next step: Integrating the circuit into the dress
The students are getting ready to finish the breadboard testing using the final components. Once the full circuit is working without a glitch, they'll start integrating it into the garment.
Check out Part 2 to follow their progress.
Way to go Roosevelt High! You ladies are making some excellent progress!